Review Workflows
Page summary:Review Workflows define custom multi-stage pipelines for content review, facilitating collaboration from draft to publication. This documentation walks through creating workflows and assigning stages.
The Review Workflows feature allows you to create and manage workflows for your various content-types. Each workflow can consist of any review stages for your content, enabling your team to collaborate in the content creation flow from draft to publication.
Read the steps as text
- The Review Workflows feature must first be configured via the Settings section of the admin panel.
- In the Review Workflows section of Global settings, you can create a new workflow.
- Or you can edit the default workflow already available in your project. This is what we will do in this demo!
- Let's click on the Edit button!
- Let's enable the review workflow for the Article content type.
- Make sure to select all the content type where the review workflow should be enabled, as they're not selected by default!
- Now let's define a required stage before an article can be published.
- Other configurations are also available per review stage. Let's discover them!
- Other than editing the stage name or colour, we can assign a specific role that can change the stage.
- For instance, let's decide that only Authors can change the "Ready to review" stage.
- Each review stage can be similarly configured.
Let's do the same with the "In progress" and "Reviewed" stages! - Now let's click Save to confirm all the changes.
- Now that our review workflow is fully configured for our Article content type, we can use the feature in the Content Manager.
- You can see in the list view that there is now a "Review stage" column indicating the stage in which the articles currently are.
- Let's go to the edit view of one of the articles to see how to change the review stage!
- Available actions related to the Review Workflows feature are displayed in this area.
Let's select another review stage: for example, "In progress". - There is no need to save.
Now let's go back to the list view! - We can now see from the list view that our article's review is in progress!
- Let's go to the edit view of another article!
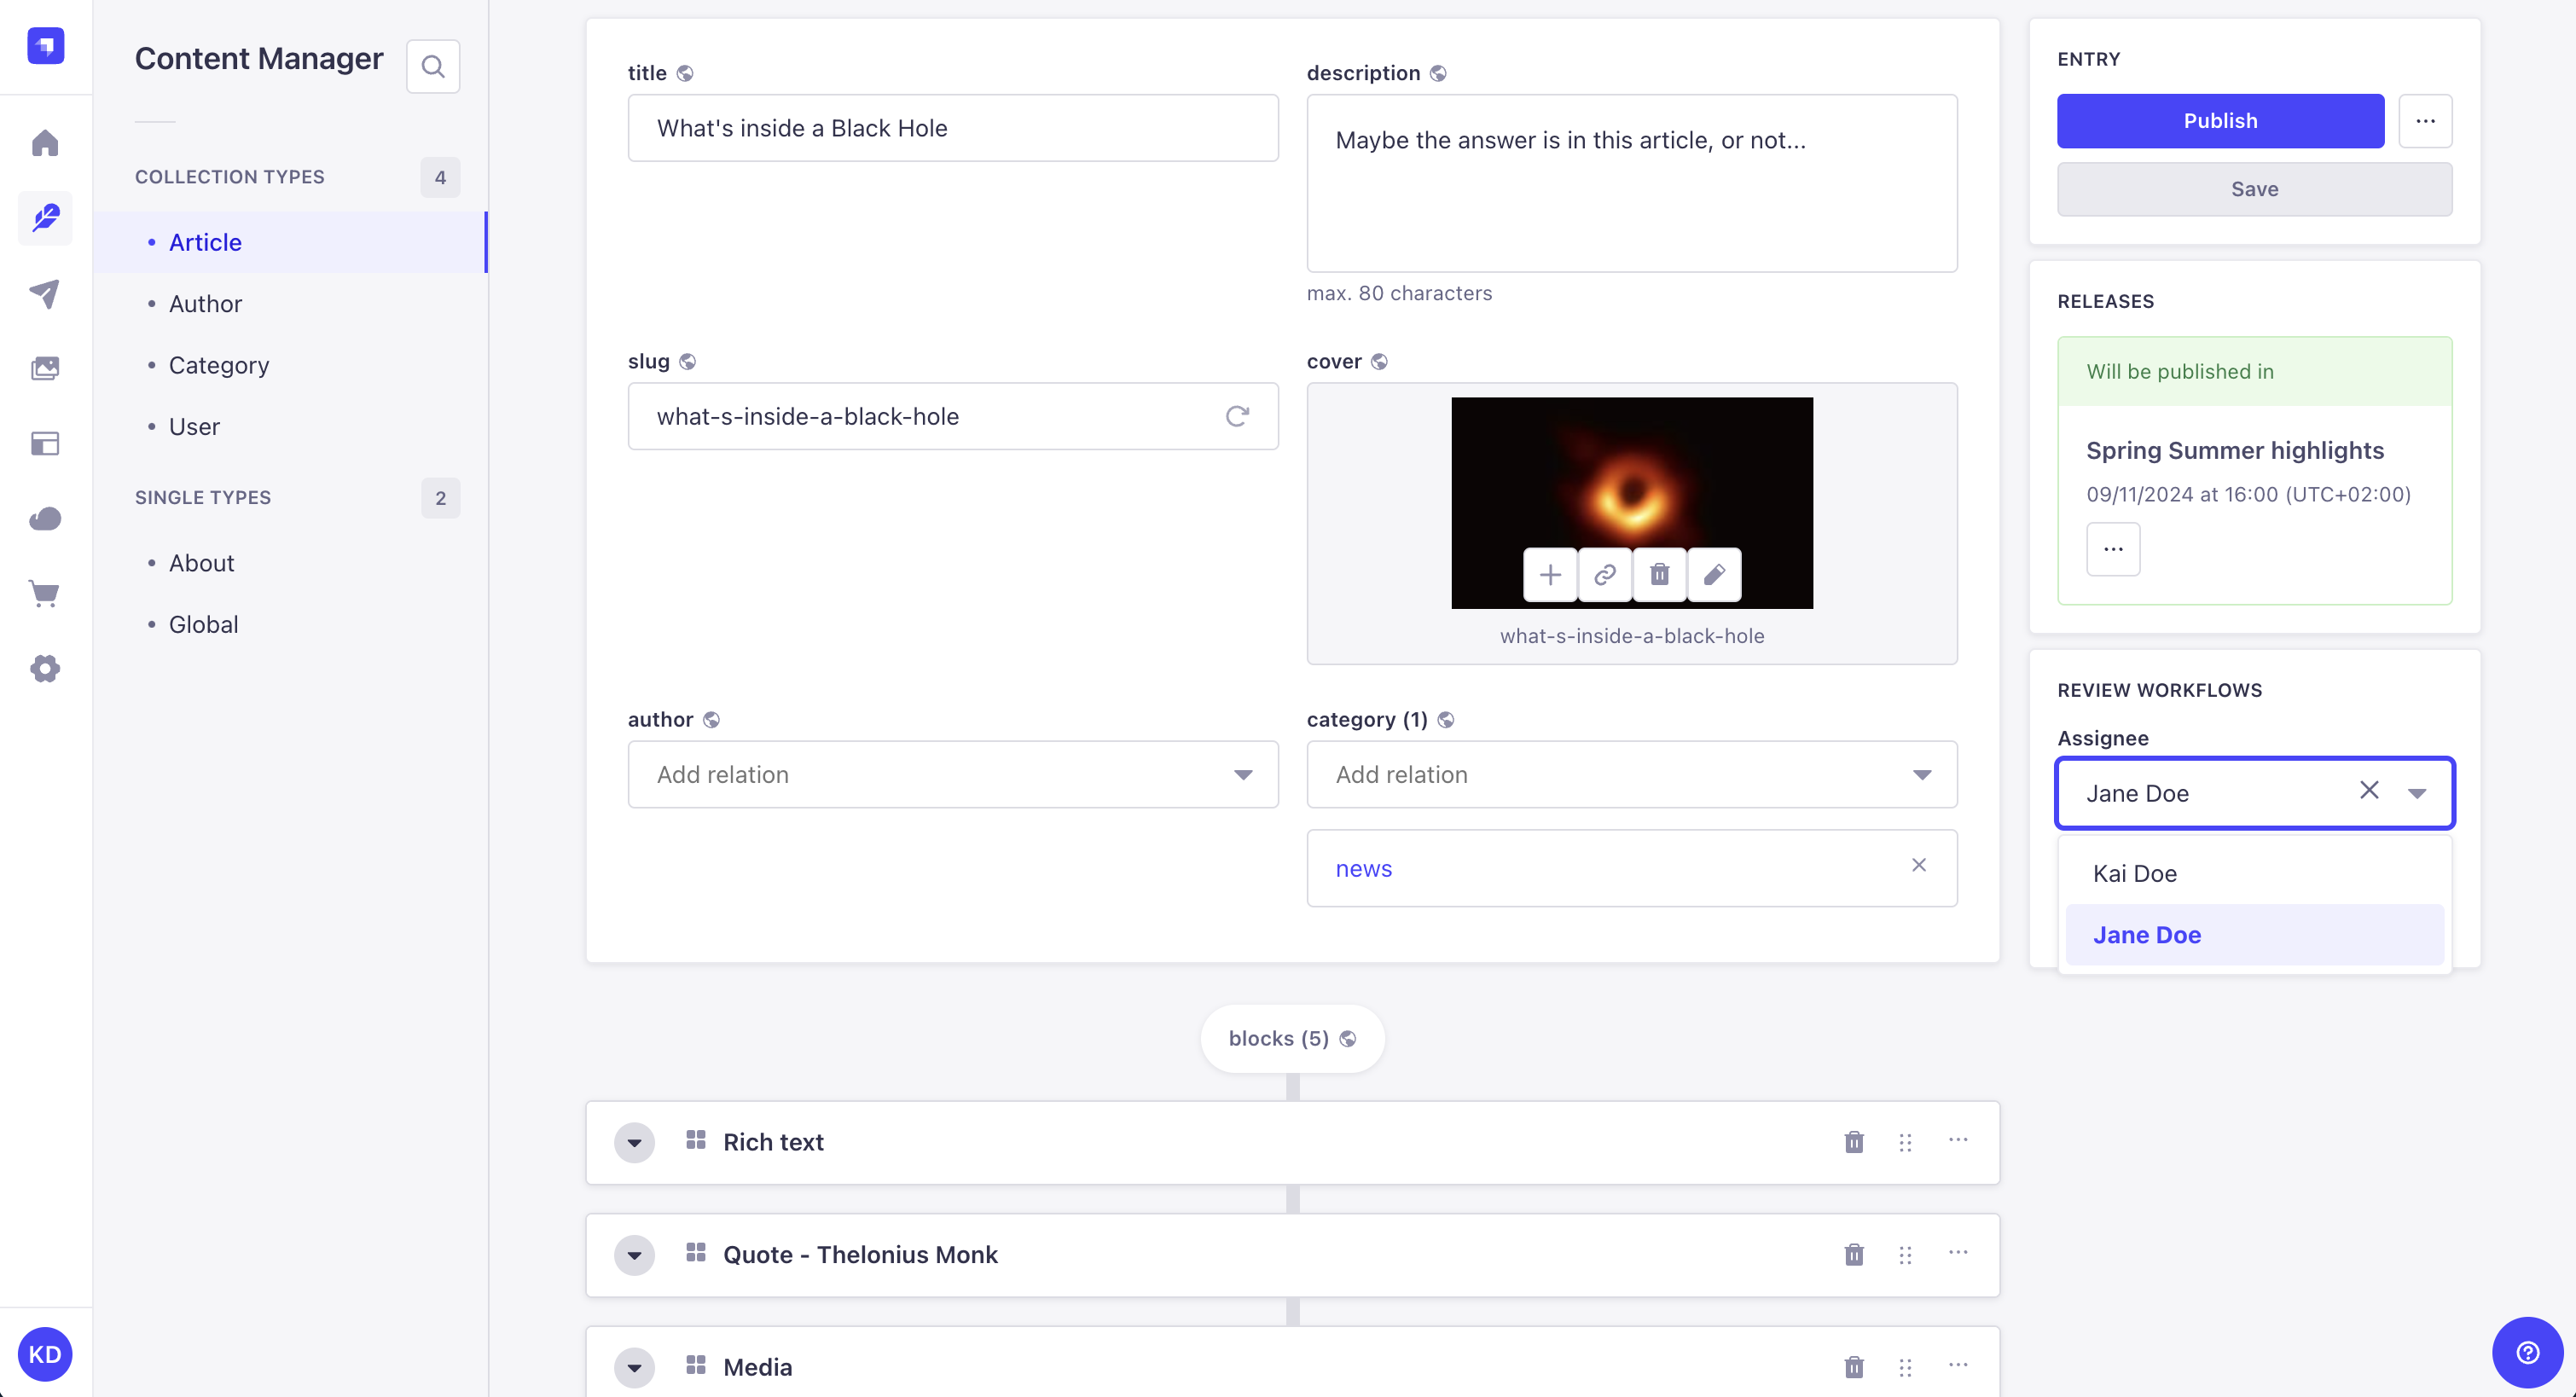
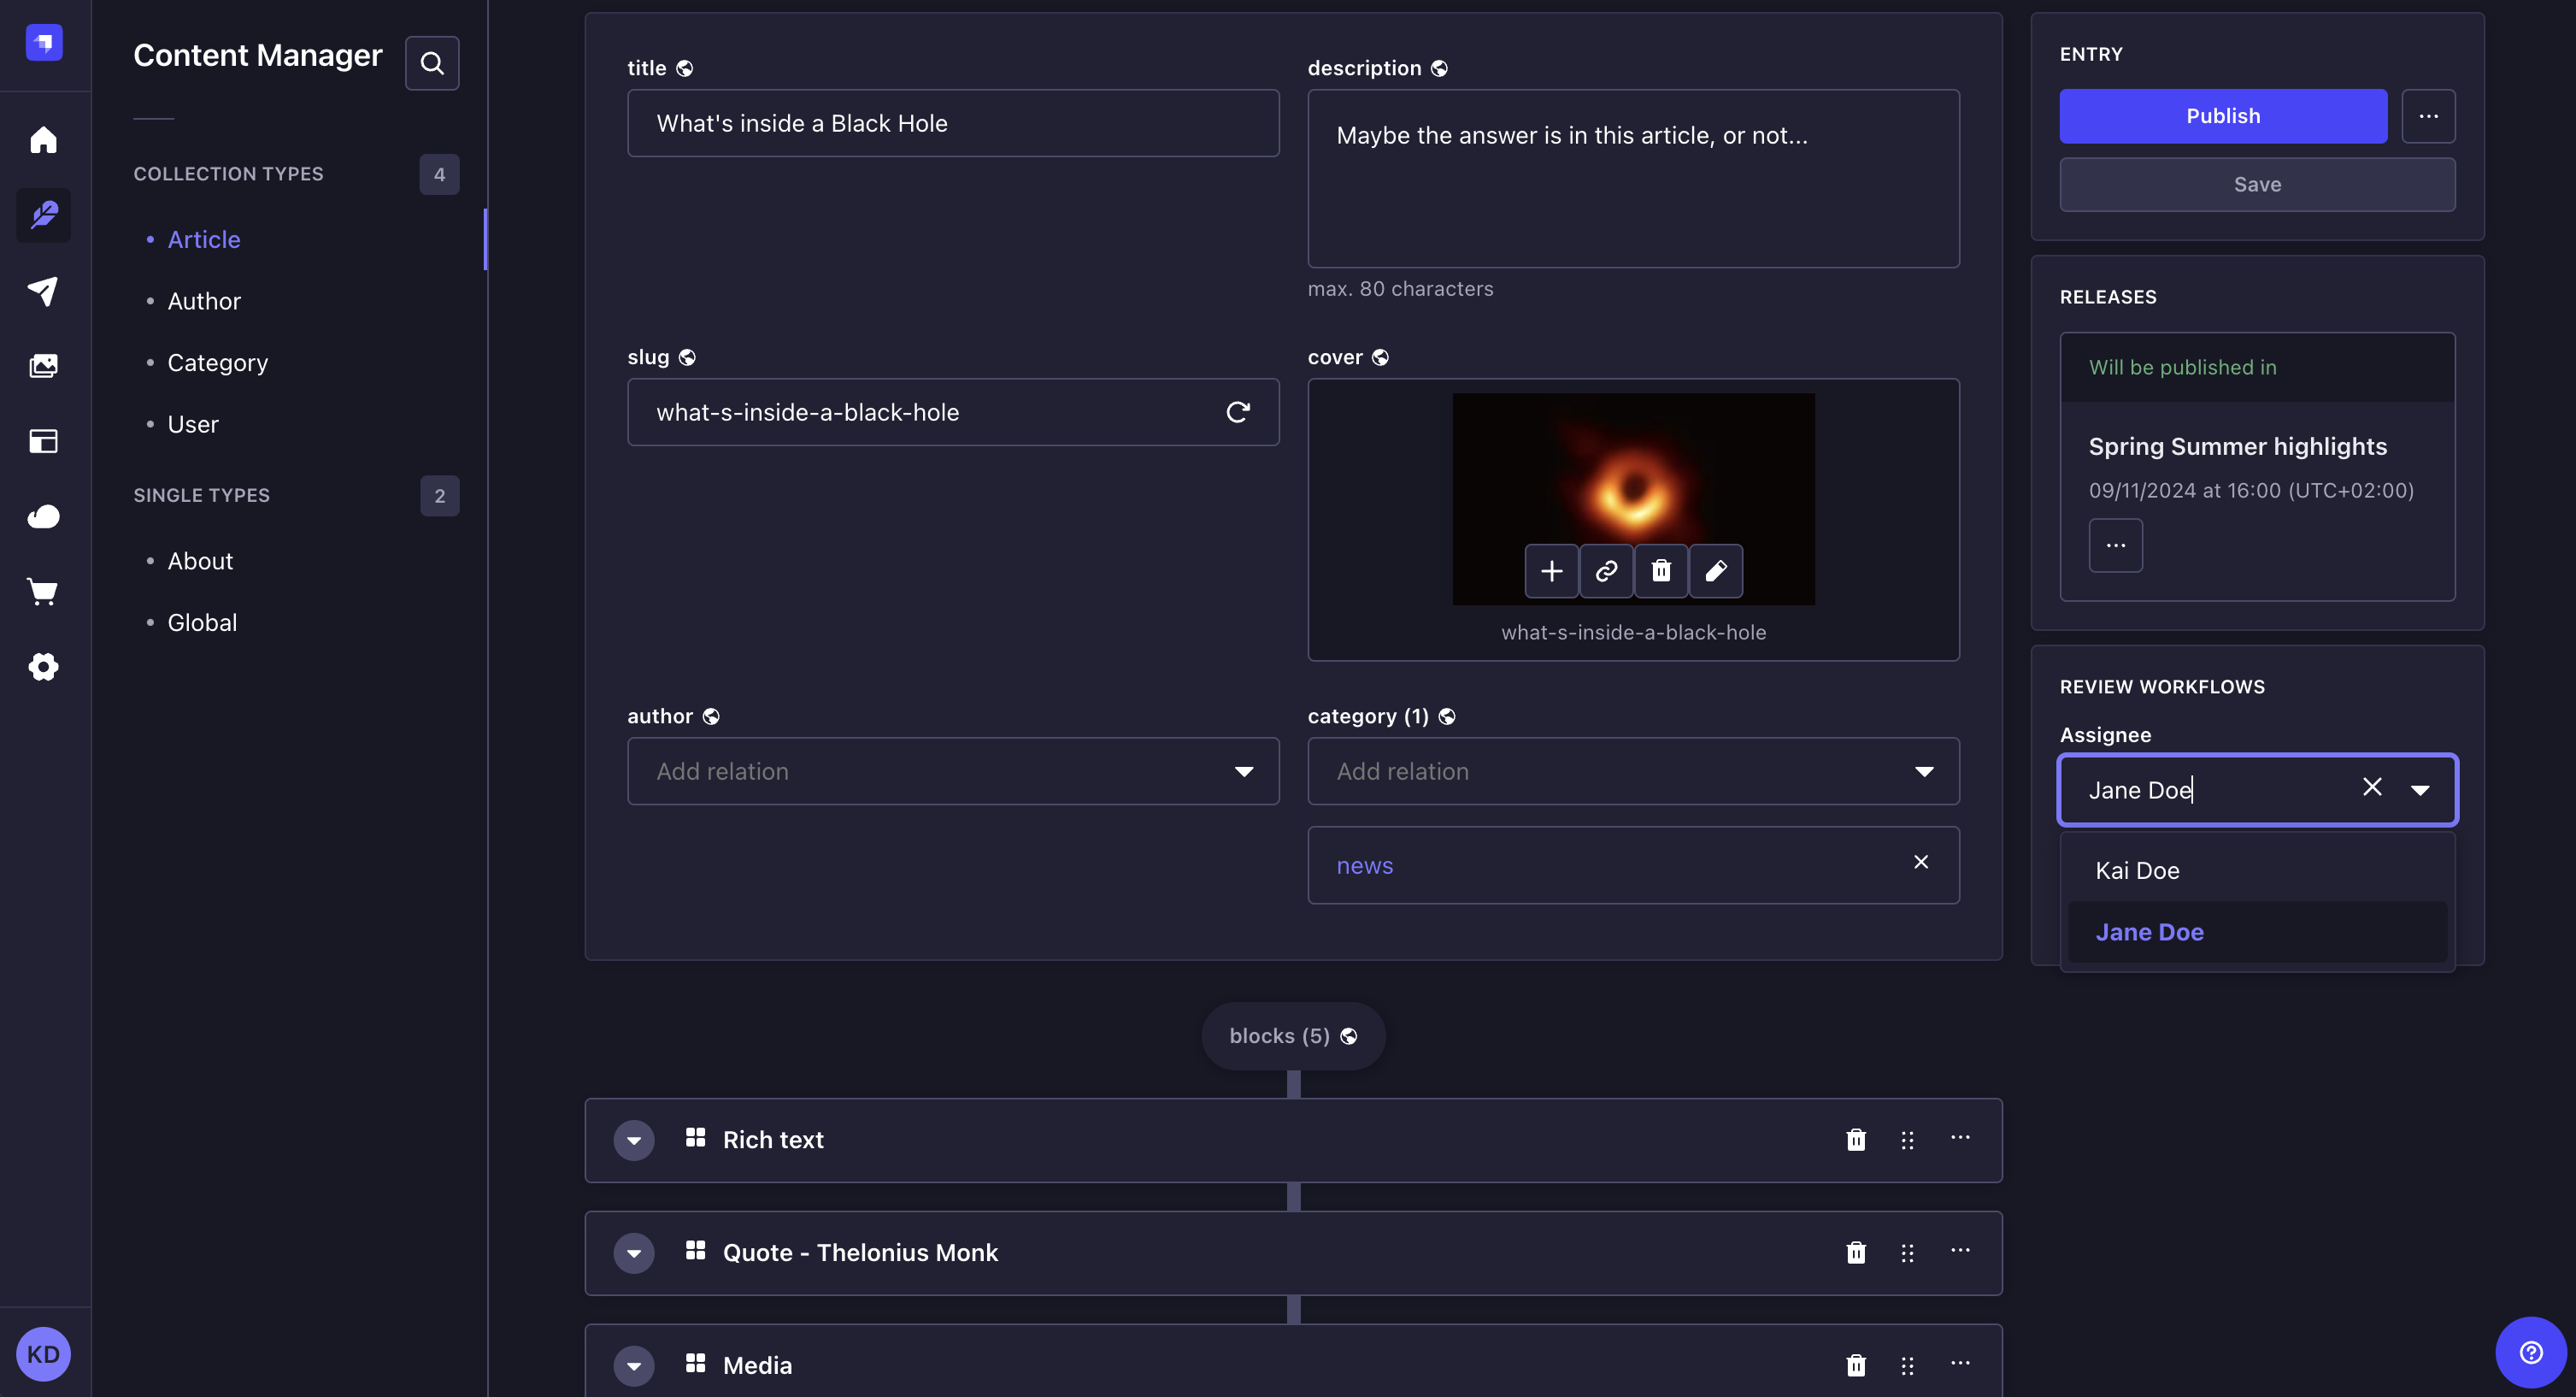
- This time, let's assign a specific user for the review of this article!
- And let's go back again to the list view!
- You can now notice another new column in the list view, "Assignee", which now indicates that Kai Doe has been assigned to the review of the article.
- And that's it! We've learned to configure and use the Review Workflows feature! ✨
Configuration
Path to configure the feature: Settings > Global settings > Review Workflows
For the review workflows to be usable in the Content Manager, the default one should be configured or a new one should be created.
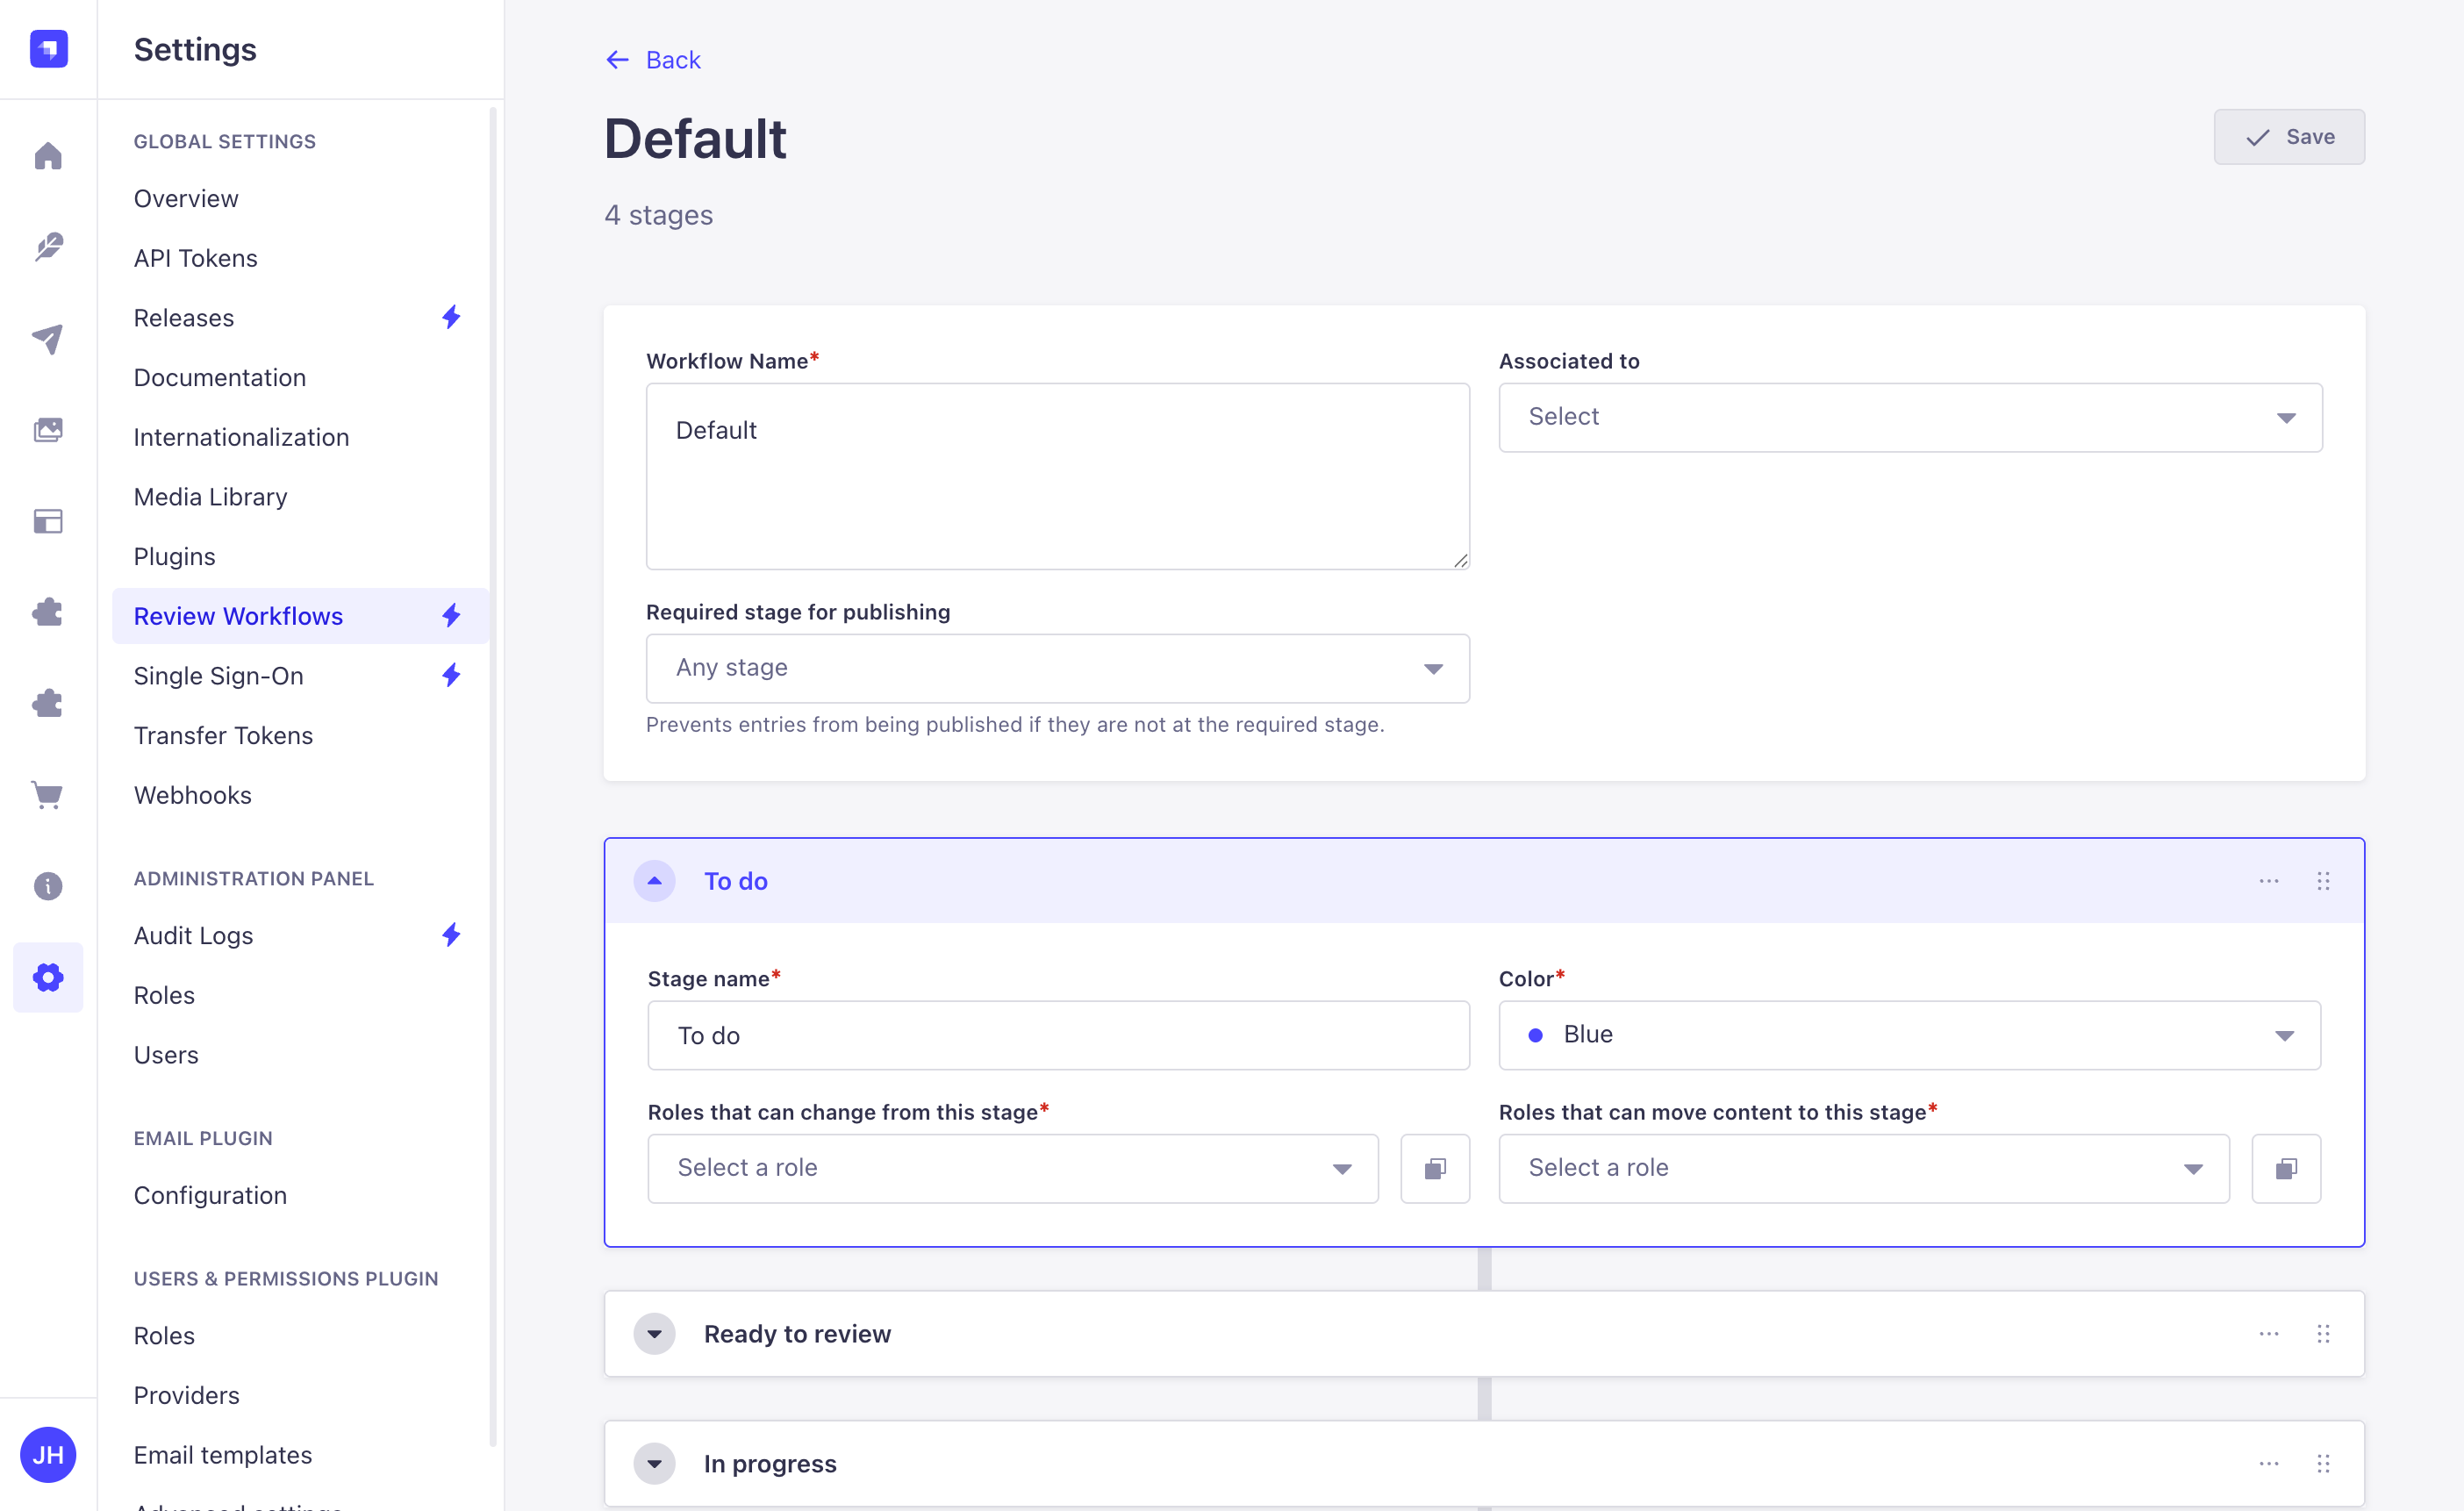
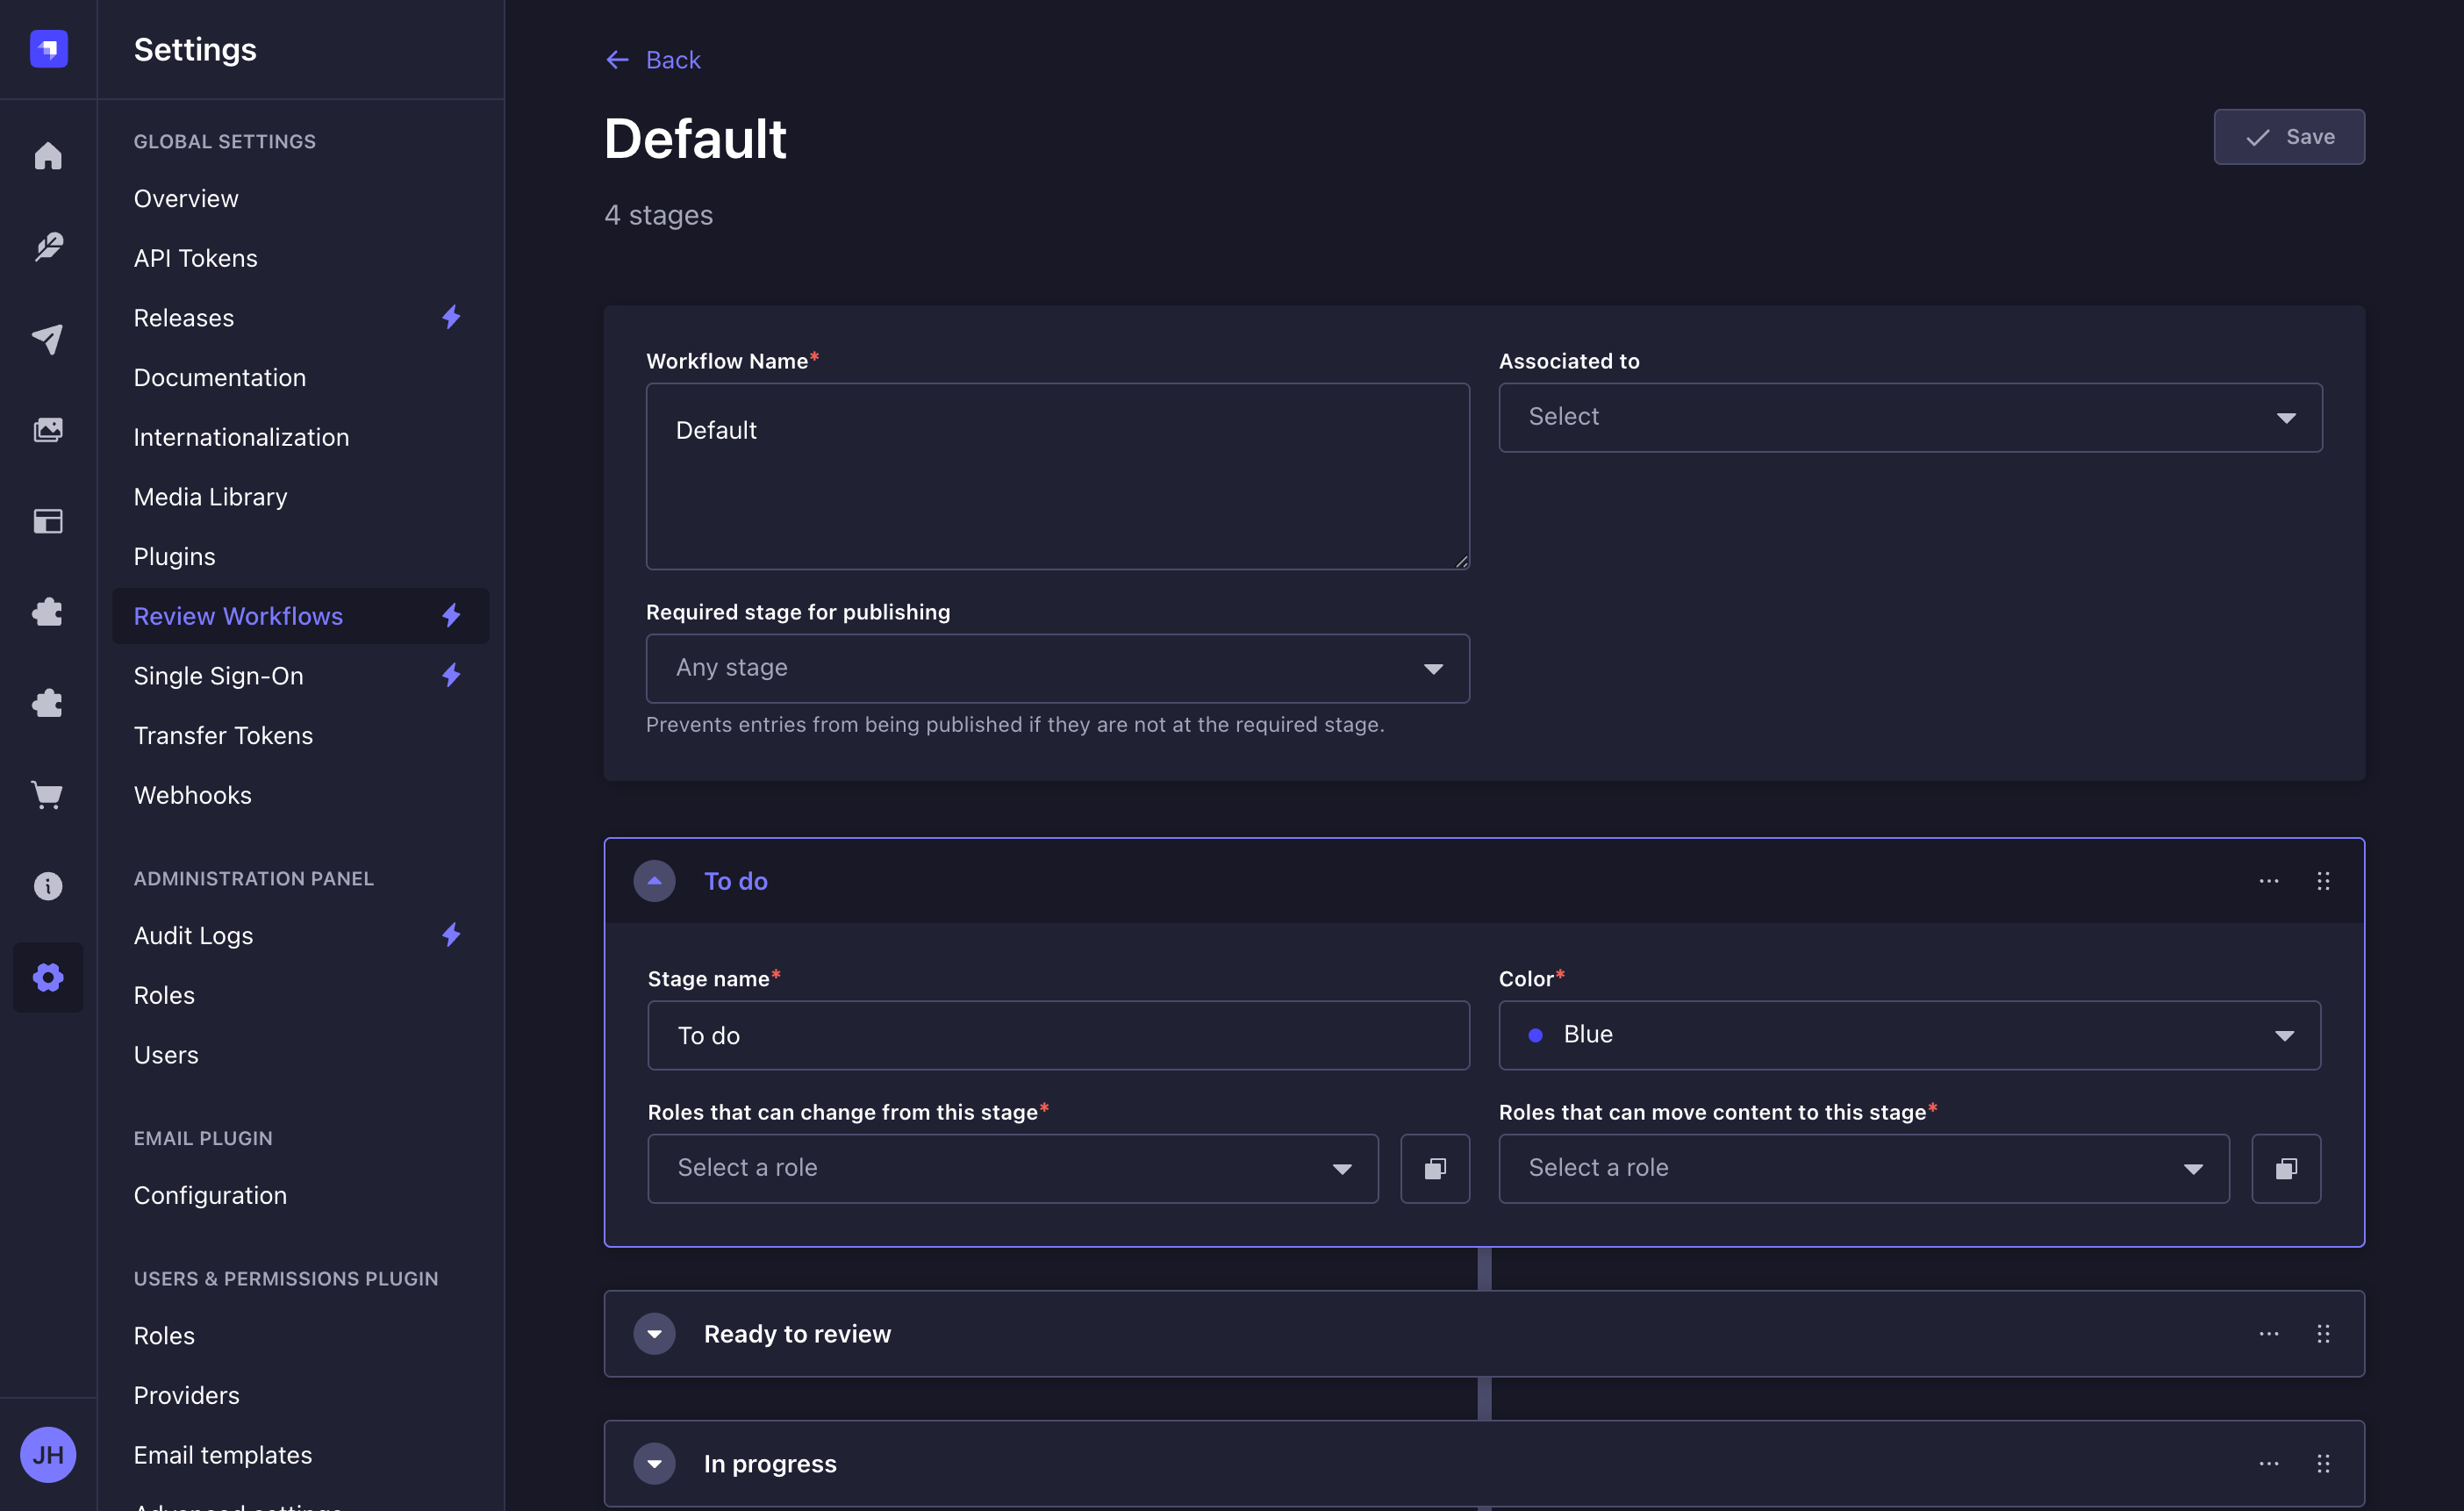
The default workflow is configured to have 4 stages, in this order: To do, Ready to review, In progress, and Reviewed. All 4 stages can be edited, reordered or deleted as needed, and it is also possible to add new stages.
Admin panel settings
Creating a new workflow
- Click on the Create new workflow button or on the edit button of a workflow.
- In the workflow edit interface, configure the new workflow:
Setting name Instructions Workflow name Write a unique name for the workflow. Associated to (optional) Assign this workflow to one or more existing content-types. Stages Add review stages (see Adding a new stage). Required stage for publishing (optional) Select the stage entries must be at to be published (see Requiring a stage for publishing). - Click on the Save button. The new workflow will be displayed in the list view and for every content-type assigned.
Your license sets how many workflows a Strapi project can have and how many stages each workflow can have, up to 200 of each. The workflow limit only applies when you create a workflow: if your project already has more workflows than your license allows, you can still edit them.
Editing a workflow
Adding a new stage
- Click on the Add new stage button.
- Write the Stage name.
- Select a Color.
- Select Roles that can change from this stage, to define which roles can move content out of this stage.
- Select Roles that can move content to this stage, to define which roles can transition content into this stage.
- Click on the Save button.
By default new stages are appended, but they can be reordered anytime using the button.
Each permission field has its own "Apply to all stages" option, which copies that field's role selection to every other stage in the workflow. Alternatively, use "Duplicate stage" from the stage context menu to copy the entire stage configuration including both permission types.
Duplicating a stage
- Click Duplicate Stage in the context menu of the stage.
- Change the name of the duplicated stage.
- Click on the Save button.
Requiring a stage for publishing
The Required stage for publishing setting of a workflow prevents entries from being published if they are not at the selected stage. It applies to every content-type associated to the workflow.
- In the workflow edit interface, click the Required stage for publishing drop-down list.
- Select a stage of the workflow, or Any stage to allow publishing from any stage.
- Click on the Save button.
An entry must be exactly at the selected stage to be published: an entry at a later stage cannot be published either. Choosing the last stage of the workflow as the required stage avoids this situation.
When the setting is defined, publishing an entry that is not at the required stage returns an error.
In Releases, entries that are not at the required stage have the Not ready status. What happens to them depends on the release mode: with Require every entry to be ready, they prevent the release from being published, and with Release all ready items, they are skipped when the release is published.
Deleting a stage
To delete a stage, click in the context menu of the stage, then Delete.
If you delete a stage that entries are at, these entries are moved to the closest previous stage in the workflow. If the deleted stage was the first one, the entries are moved to the next stage instead. Every workflow needs to contain at least one stage and therefore it is not possible to delete the last stage.
Deleting a workflow
To delete a workflow click on the delete button of a workflow in the list view.
It is not possible to delete the last workflow.
Usage
Path to use the feature: Content Manager
The Review Workflows box only appears when viewing the Draft tab of an entry. This applies both to the edit view and to Preview. The box does not appear on the Published tab, since a review stage applies to the draft and not to already published content.
Changing review stage
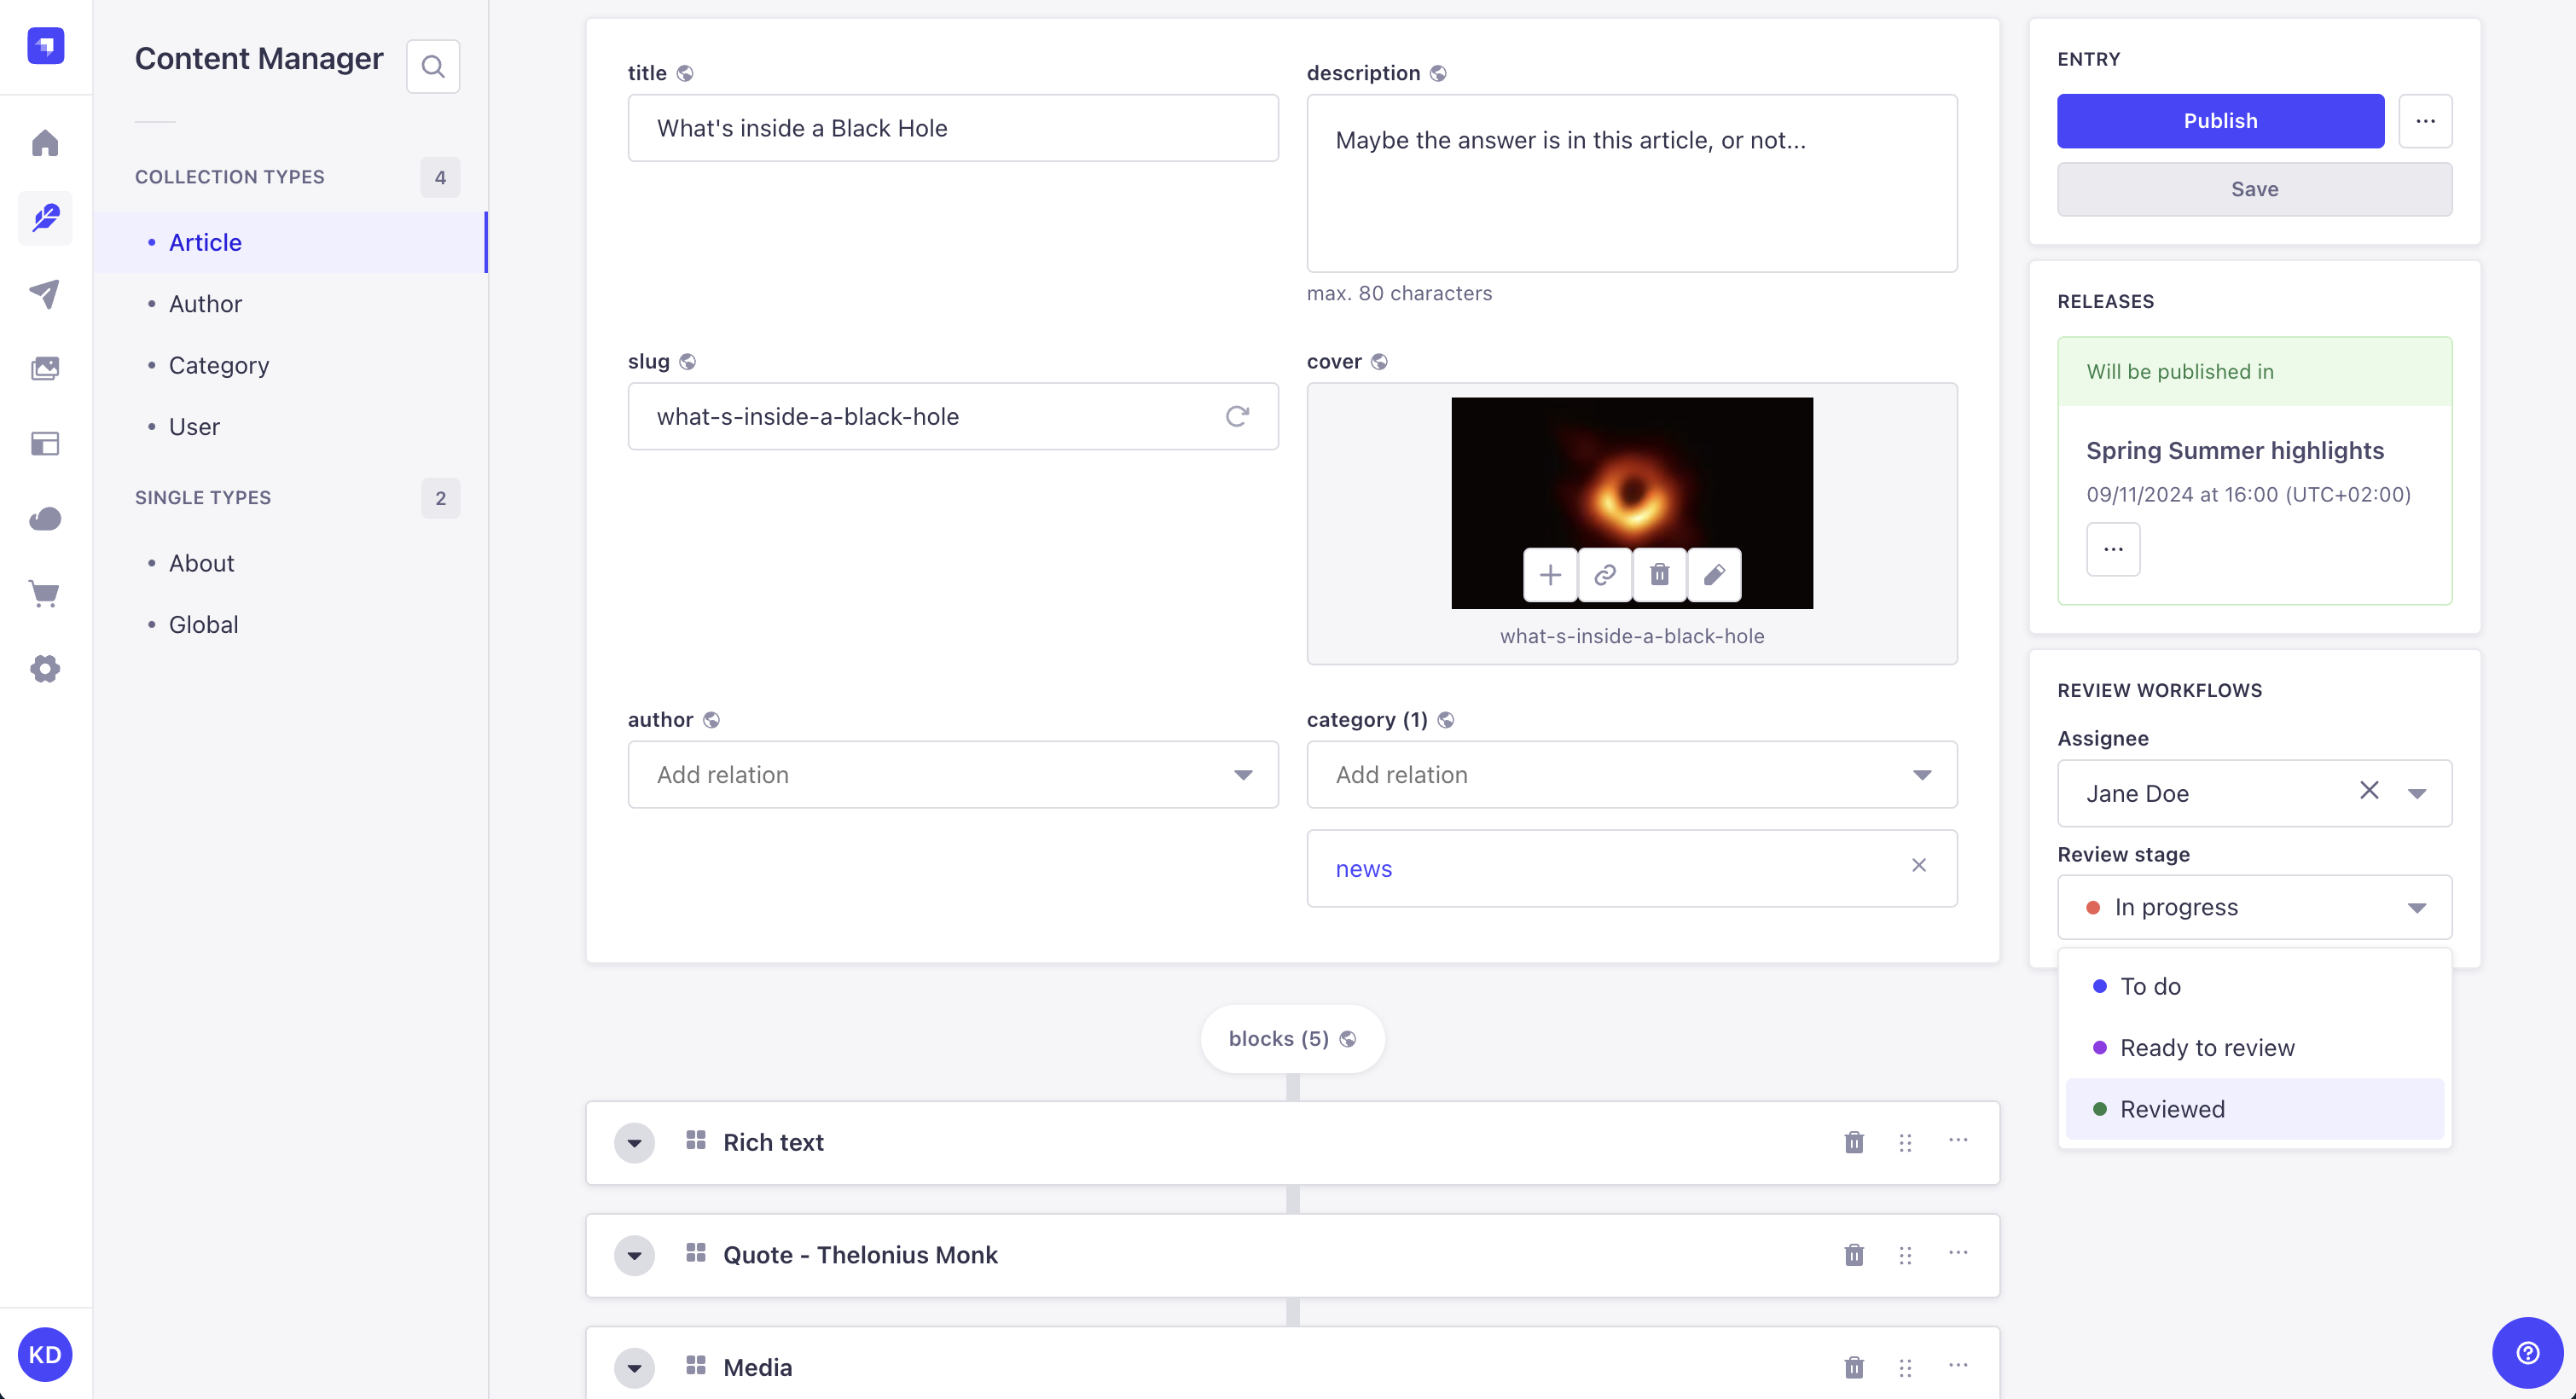
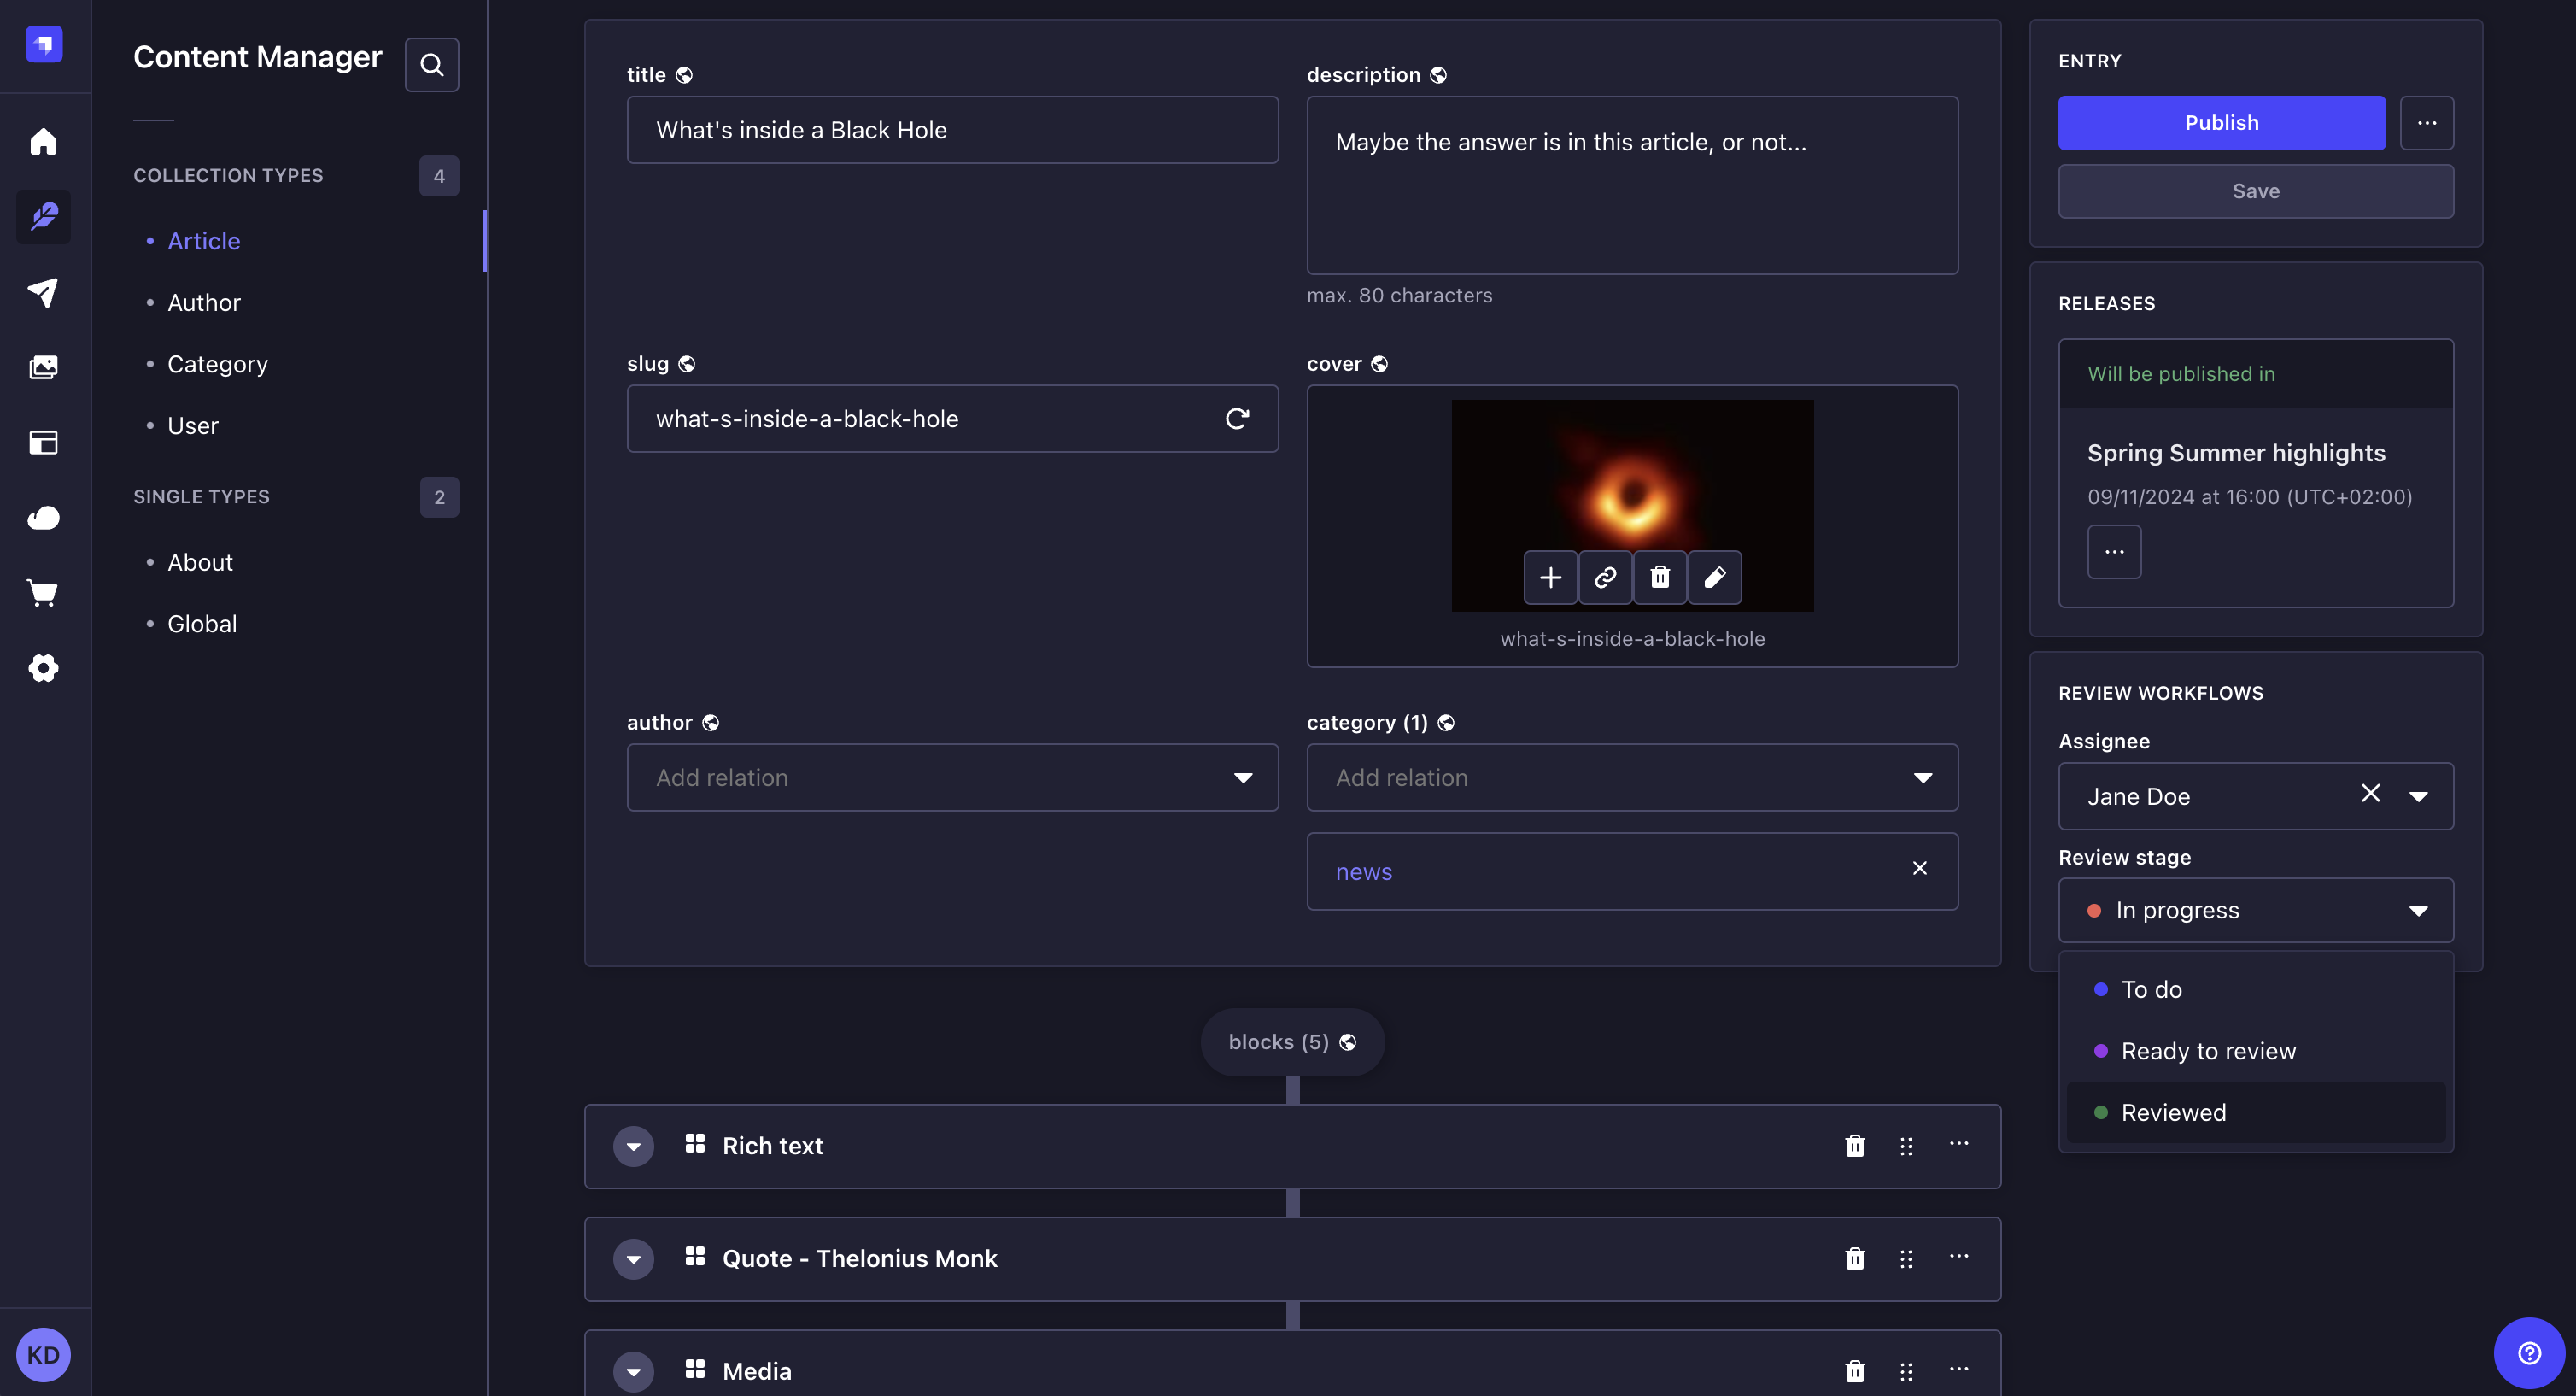
As content is created and revised among your team, you can change the review stage of the content. The available target stages in the dropdown depend on your role's permissions: you must have permission to move content from the current stage and permission to move content to the target stage.
- Access the edit view of your content-type.
- In the Review Workflows box on the right side of the interface, click on the Review stage drop-down list.
- Choose the new review stage of your entry. It is automatically saved.
Defining assignee
Entries of a review workflow content type can be assigned to any admin user in Strapi for review.
- Access the edit view of your content-type.
- In the Review Workflows box on the right side of the interface, click on the Assignee drop-down list.
- Choose the new assignee of your entry. It is automatically saved.
You can filter entries in the Content Manager list view by Assignee and Review Stage to quickly find entries assigned to specific users or in specific review stages. Open the filters menu in the list view to access these filtering options.
Audit logging of review workflow actions
5.56.1This feature requires Strapi version 5.56.1 or later.Review workflow actions are automatically captured in Audit Logs. Changes to a workflow, to the review stage of an entry, and to the assignee of an entry each produce a log entry.
The following actions are recorded:
| Action | What is logged |
|---|---|
| Create workflow | The content types the workflow applies to, its stages, and the stage required to publish. |
| Update workflow | The fields that changed, among the name, content types, stages, and stage required to publish, with their previous and new values. No entry is created if nothing changed. |
| Delete workflow | The name and identifier of the deleted workflow. |
| Change entry review stage | The locale, the workflow the entry belongs to, and the previous and new stage. |
| Change entry assignee | The locale, and the previous and new assignee. An entry with no assignee is recorded as empty. No entry is created if the assignee did not change. |
Stages are recorded by name, with their color and the roles allowed to move content from and to them. Content types and roles are sorted before comparison, so reordering them alone is not recorded as a change. Assignees are recorded as admin user identifiers, not as user names.
To view these log entries, go to Settings > Audit Logs and filter by action.
The audit log entry for a stage change shares its name with the review-workflows.updateEntryStage webhook event. Their payloads are different.